
WEEK 3:
Computer Controlled Cutting.
This week's task is to make cuts on vinyl cutters and laser cutters (CNC), it was a challenge to gain practical experience in these jobs, for this I have turned to a friend who has his company dedicated to this area.
For my vinyl cutting job, I used CorelDraw to parameterize my website logo so I could take it to the vinyl cutter.
I used CorelDraw, because it makes it easy for me to parameterize the contours of the image and because it can be exported to the language of the vinyl cutting machine.
I've only done the first part, which is paramenting my logo in CorelDraw, because I haven't been able to run it on the vinyl cutter, so we don't have this machine yet, but I document the information with a YouTube video, which served as a reference to learn how this vinyl cutting process works.
Laser Cut
Group Task
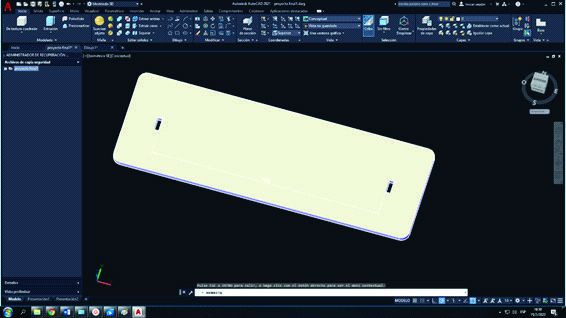
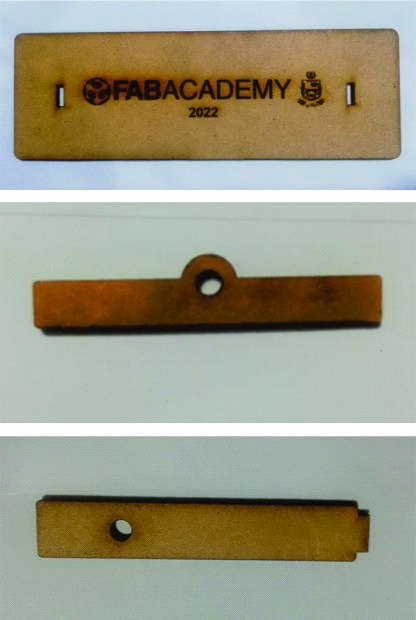
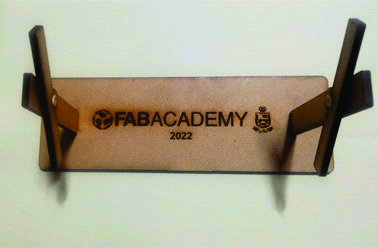
In AutoCAD I made the drawing of the base of my project for this task I have worked with my co-worker Elber Vega.Laser cutters are machines that perform their cutting function by means of a laser, an amplified beam of light. Laser powered cutters have the same foundation and function similarly to any other cutter.
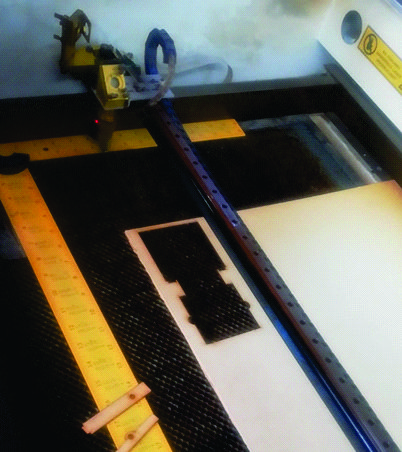
The laser cutter I was using to cut a parametric design with multiple parts and do laser engraving.
So I designed a piece that was the base of my project, but I added the laser engraving of the logo of my website, I did this in AutoCAD.
The material I used was 3mm thick MDF and the final dimensions were 60 x 180mm.
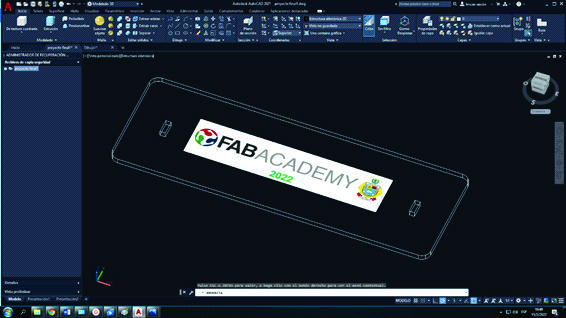
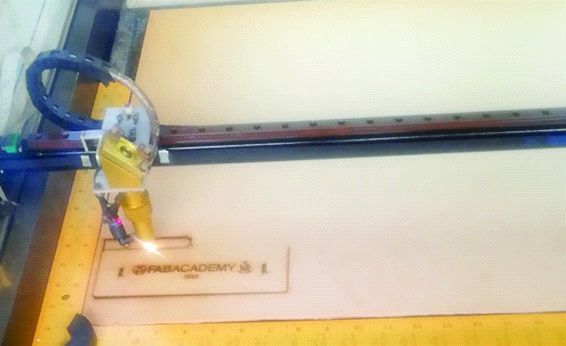
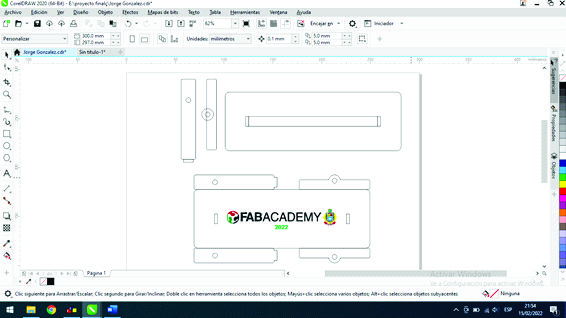
This file was exported to CorelDraw, parameterized and sent to the machine software for engraving and cutting.
Single Task
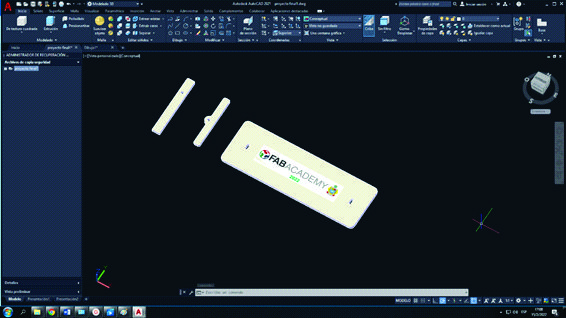
The individual task that I have carried out has been the exploded view of the pieces of my project, I have worked with AutoCAD to delimit the measurements of the pieces.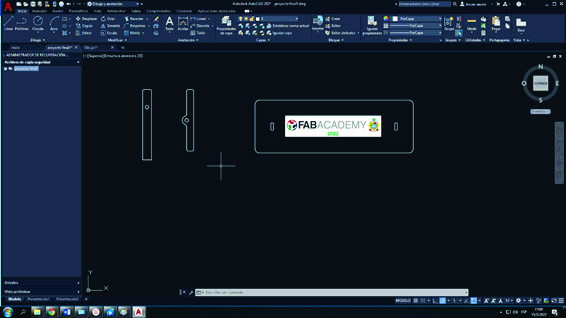
Export the AutoCAD file to CorelDraw to parameterize it and send it to the laser cutting machine software.
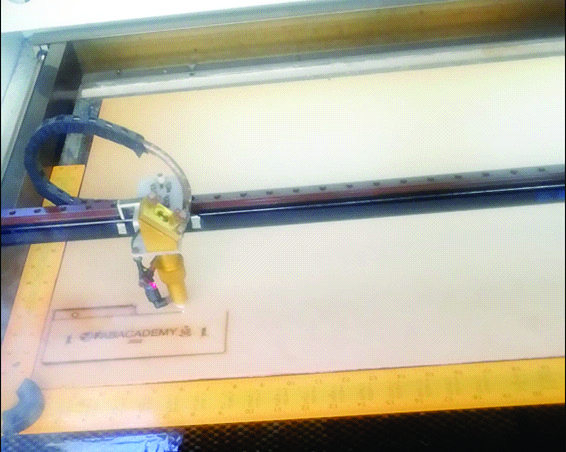
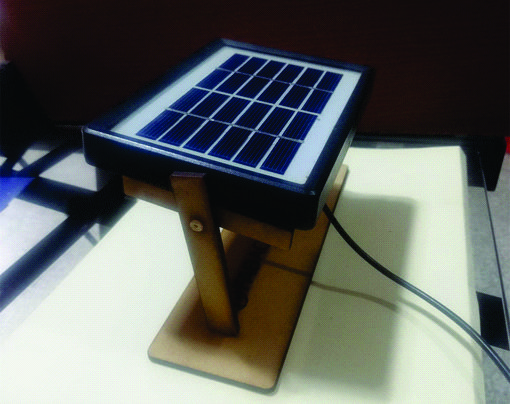
Below is the link to the video of the laser cutting of my project.